Insert images in LaTeX
Load graphicx, choose a path relative to the main document, and size an image without distorting it.
On this page
Store each research figure in the project, load graphicx, and refer to the file by a path relative to the main document's folder. A useful first result is an image at a predictable size; captions, numbering, and placement come next.
Add a project-owned figure#
Create or select the figures folder in Files, open the folder's actions,
and choose Upload files… to add a PDF, PNG, or JPEG there. You can also
paste an image into editable LaTeX so CorTeX adds the asset and inserts matching
source. A typical project might contain:
main.tex
figures/
  calibration-curve.pdf
From a root-level main.tex, the direct inclusion is shown below. Put the body
commands inside a figure environment or a local group: an ungrouped
\centering also affects the following paragraph. The complete example in the
next section shows the figure pattern.
\usepackage{graphicx}
% in the document body
\centering
\includegraphics[width=0.72\linewidth]{figures/calibration-curve.pdf}
Compile and confirm the entire plot is visible, its aspect ratio is unchanged, and it does not enter the margins. Setting only width or only height preserves the aspect ratio; if both are necessary, add keepaspectratio.
Turn the image into a cited figure#
This compiled example uses TeX Live's letter-A placeholder to demonstrate
layout. Replace example-image-a with your project image and rewrite its caption
and alt text to describe your result before sharing an accessible PDF.
\documentclass{article}
\usepackage{graphicx}
\usepackage{mwe}
\begin{document}
Figure~\ref{fig:calibration} demonstrates the image and caption layout.
\begin{figure}[htbp]
  \centering
  \includegraphics[width=0.62\linewidth,
    alt={Gray rectangular layout placeholder labeled A}]
    {example-image-a}
  \caption{Layout placeholder; replace with the calibration plot.}
  \label{fig:calibration}
\end{figure}
\end{document}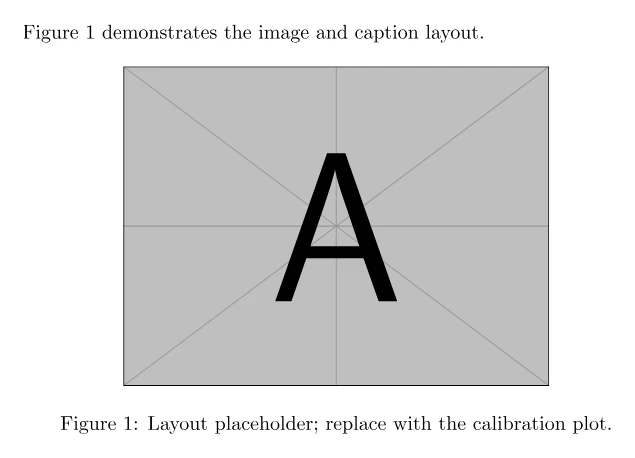
The PDF should contain an in-text figure reference, one proportionally scaled image, and a numbered caption. Put \label after \caption so it receives the figure number. The alt key supplies a text alternative for CorTeX's accessible PDF workflow on supported TeX Live 2026 classes; describe the information conveyed rather than repeating the caption.
Choose a compatible source asset#
For pdfLaTeX, prefer PDF for vector plots and PNG or JPEG for raster images. XeLaTeX and LuaLaTeX support the same common choices. CorTeX does not run arbitrary shell conversion, Inkscape, or Ghostscript during an ordinary compile, so convert SVG and EPS to a compatible project asset before uploading. Keep the original outside CorTeX if the converted file is not your archival source.
File paths and capitalization must match exactly. Prefer stable ASCII names without spaces. \graphicspath{{figures/}{supplement/}} can shorten repeated paths, but an explicit folder often makes missing-file errors easier to trace. Useful graphicx options include trim={left bottom right top},clip for cropping and angle=90 for rotation; crop cautiously so labels and error bars remain visible.
If LaTeX reports that the file is missing, verify the main document's folder, every path segment's case, and the uploaded extension before changing packages. Follow the file-not-found checklist if it persists.
As an exercise, upload one plot under figures/, replace the sample name, and revise both the alt text and caption to describe your result. You are done when the prose reference resolves and the compiled PDF shows the project asset. Next, learn how LaTeX positions floats and captions.